Let’s be real—drainage problems suck. Whether your yard turns into a swamp after rain or your patio ends up underwater, it’s time to fix that mess and look good doing it. A dry creek bed is a great DIY project that’s as functional as it is beautiful. Bonus? It’s way easier than it looks.
Here's how I did mine, step-by-step—with Lake Superior clay, a ton of rocks, and a whole lot of stubbornness.
Why Build a Dry Creek Bed?
Because:
- You’re sick of soggy spots.
- You want to guide water runoff safely away from your house.
- You love the look of natural stone features.
- It’s cheaper than installing French drains or digging up half your yard.
- It gives your backyard awesome vibes.

🛠What You’ll Need
- Shovel, rake, gloves, and a stubborn back.
- Wheelbarrow (unless you want to carry rocks one at a time like I did for the first hour).
- A mix of rocks:
- Ugly ones for the base (think leftover landscaping rocks or busted chunks).
- Nicer ones for the top and edges (river rock, Lake Superior stones, granite, etc.).
- Optional: sand or clay for lining.
- Optional: landscape fabric to keep weeds from laughing in your face next season.
Step-by-Step Instructions (with Tips)
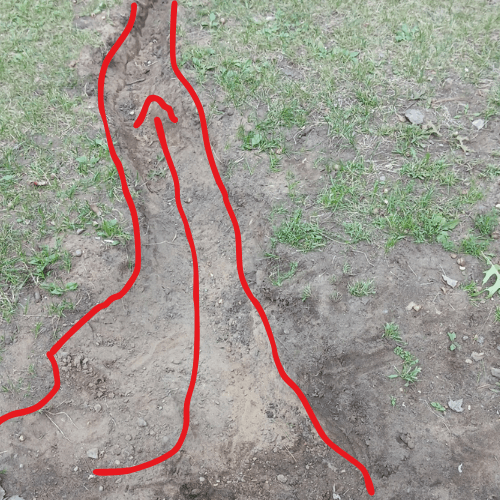
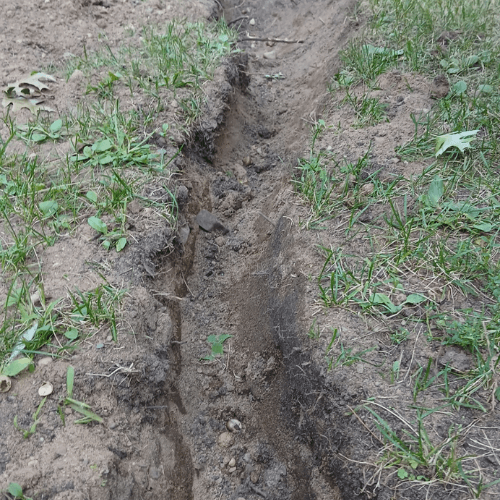
Step 1: Scout the Flow & Dig the Trench
Find out where the water naturally wants to go. Mine was pretty obvious—straight toward my patio like it was magnetized.
Mark out a trench in that path and start digging.
- Aim for about 12–18 inches deep and make the middle lower than the edges.
- Curves look more natural than straight lines.
- Don’t overthink it—it’s not surgery, it’s a ditch.
Pro tip: Don’t make it too shallow or water will jump ship during a big storm.
Step 2: Line the Trench (Optional but Smart)
Here’s where I got creative and used clay from Lake Superior as a natural liner.
You can also use:
- Landscape fabric for weed control.
- Coarse sand or gravel if you need better drainage.
Fact-check: Clay can work as a liner if compacted well—but only if you’re not expecting gallons of fast-moving water. Otherwise, go gravel or skip lining entirely and rely on rock layers.
Step 3: Base Layer – Toss in the Ugly Stuff
Start by throwing in your chunky, busted rocks. These are your drainage heroes.
They won’t be visible later, but they:
- Keep things from shifting.
- Give water room to flow between gaps.
- Save your prettier rocks from sinking.
I added a light layer of sand after the base to help everything settle. This part is totally optional but worked great for me.
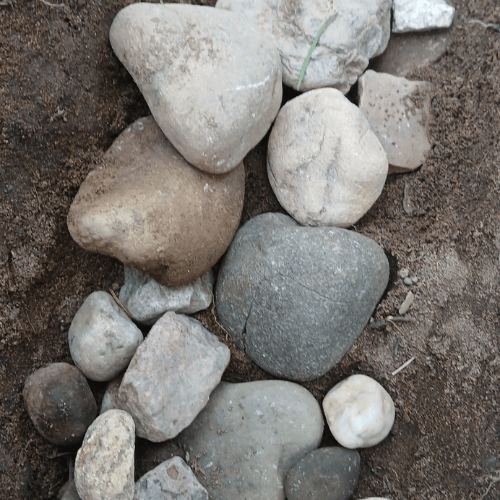
Step 4: Frame the Edges with Larger Stones
Now it starts to look cool.
Use your bigger, prettier stones to outline the sides. These:
- Hold everything in place.
- Give it structure.
- Make it look like a real creek bed, not just a rock dump.
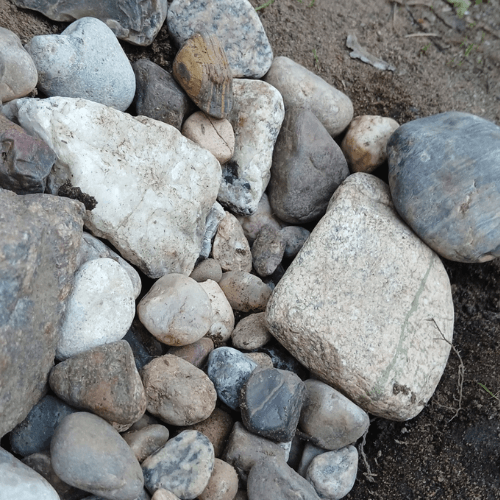
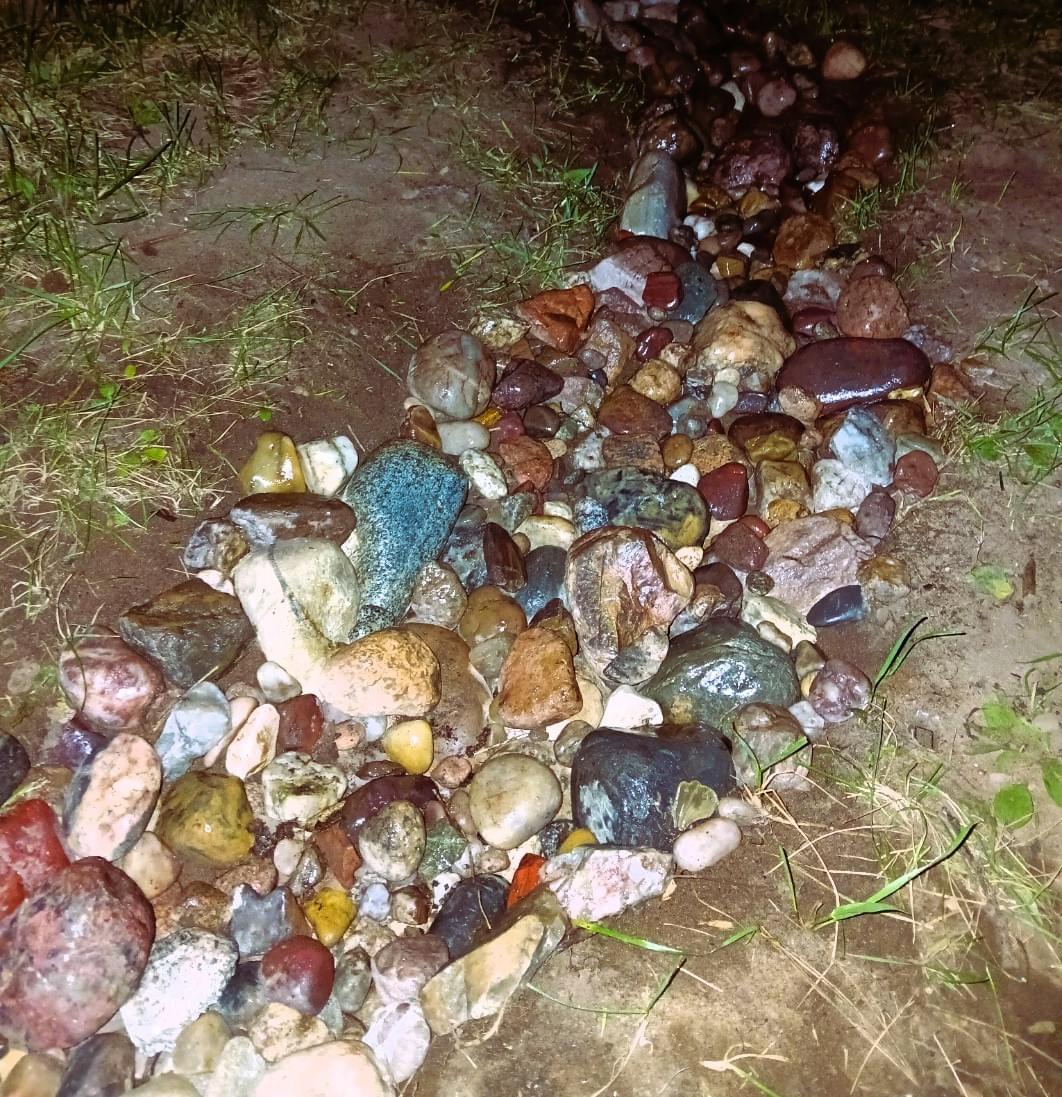
Step 5: Top It Off With the Pretty Stuff
Cover the base with a layer of your best-looking stones—mix up colors, textures, and sizes.
This is your moment to be artistic. Think:
- Smooth river rocks
- Polished Lake Superior stones
- Granite, quartz, red jasper—whatever makes it pop.
Pro tip: Mixing sizes (small, medium, large) helps everything settle better and look more natural.

Step 6: Finishing Touches
- Trim any landscape fabric sticking out like a bad haircut.
- Pack things down gently.
- Add plants, mulch, driftwood, or sculpture if you want to jazz it up.
- Test it out during a rain to make sure the water actually flows!

Maintenance & Tips
- Expect a bit of weeding in spring. Even with fabric, stuff finds a way.
- After heavy rain, check for stones that shifted.
- You can always tweak and add more later.
Final Result?
A functional and beautiful dry creek bed that:
Stops flooding
- Looks natural
- Feels like a backyard upgrade without breaking the bank
- You don’t need fancy tools, a landscape crew, or a ton of money—just some sweat, rocks, and time.
Want to Try It Yourself?